How-To: Duck Tape® Easter Egg Wreath
How-To: Duck Tape® Easter Egg Wreath
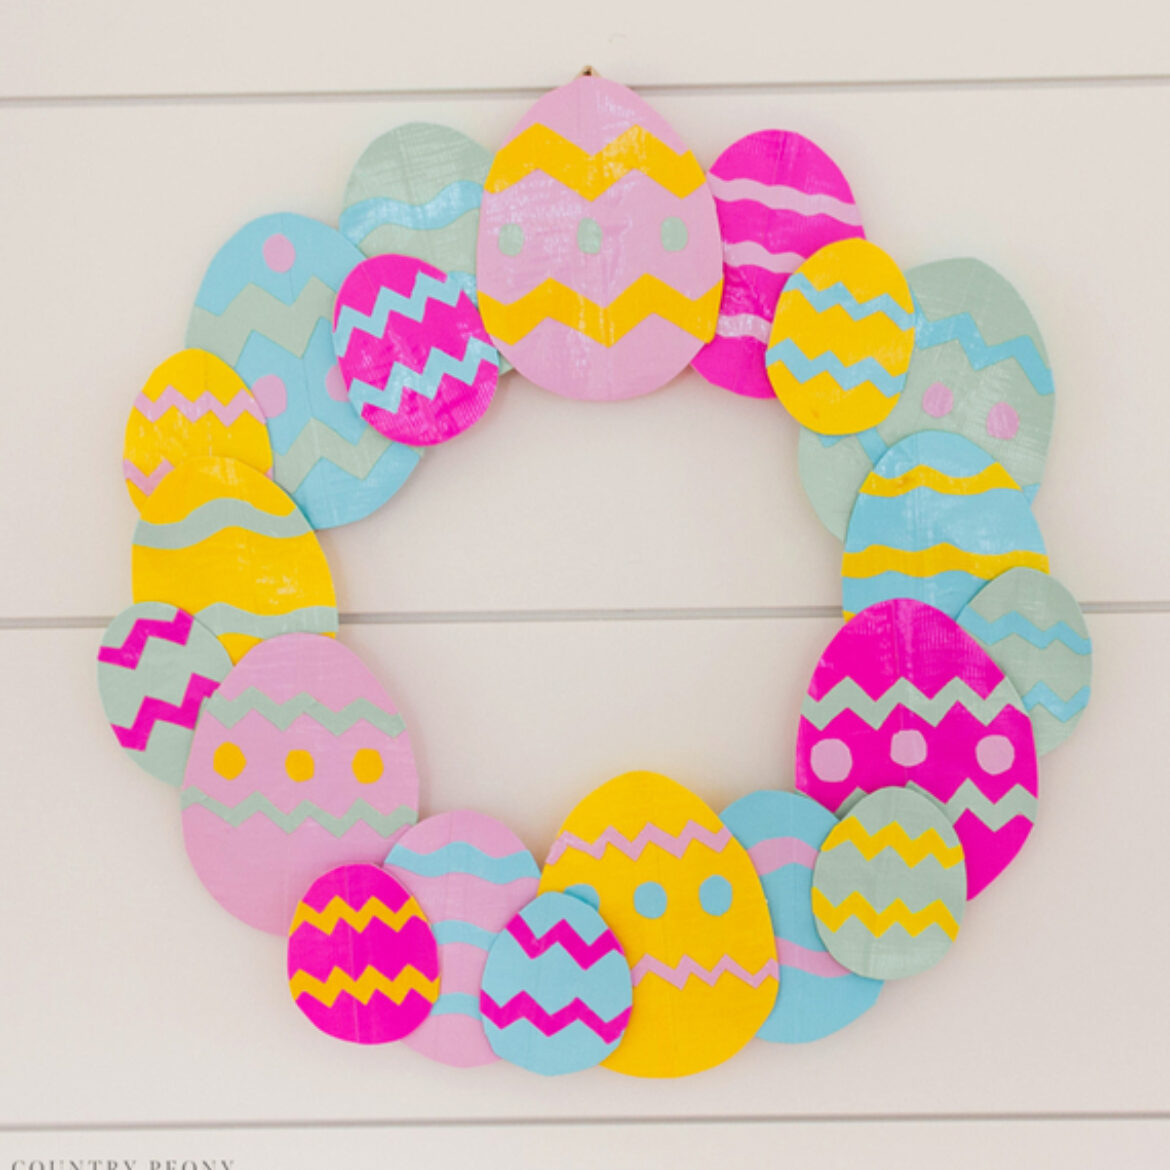
Looking for a "hop" of color to include in your Easter décor? For this DIY décor project, we teamed with with the Country Peony to create this colorful Duck Tape® Easter Egg Wreath.
Tutorial
Intermediate
30 Minutes
Supplies & Tools
- Duck Tape® in a variety of colors
- Wire Wreath Form
- Scissors
- Craft Knife
- Cutting Board
- Pen or Marker
Scroll down for step-by-step directions.
Disclaimer - If the listed tape type is not available, there's no need to worry. All of our crafts can be adjusted to use whatever tape you have on hand!
Directions
Step 1
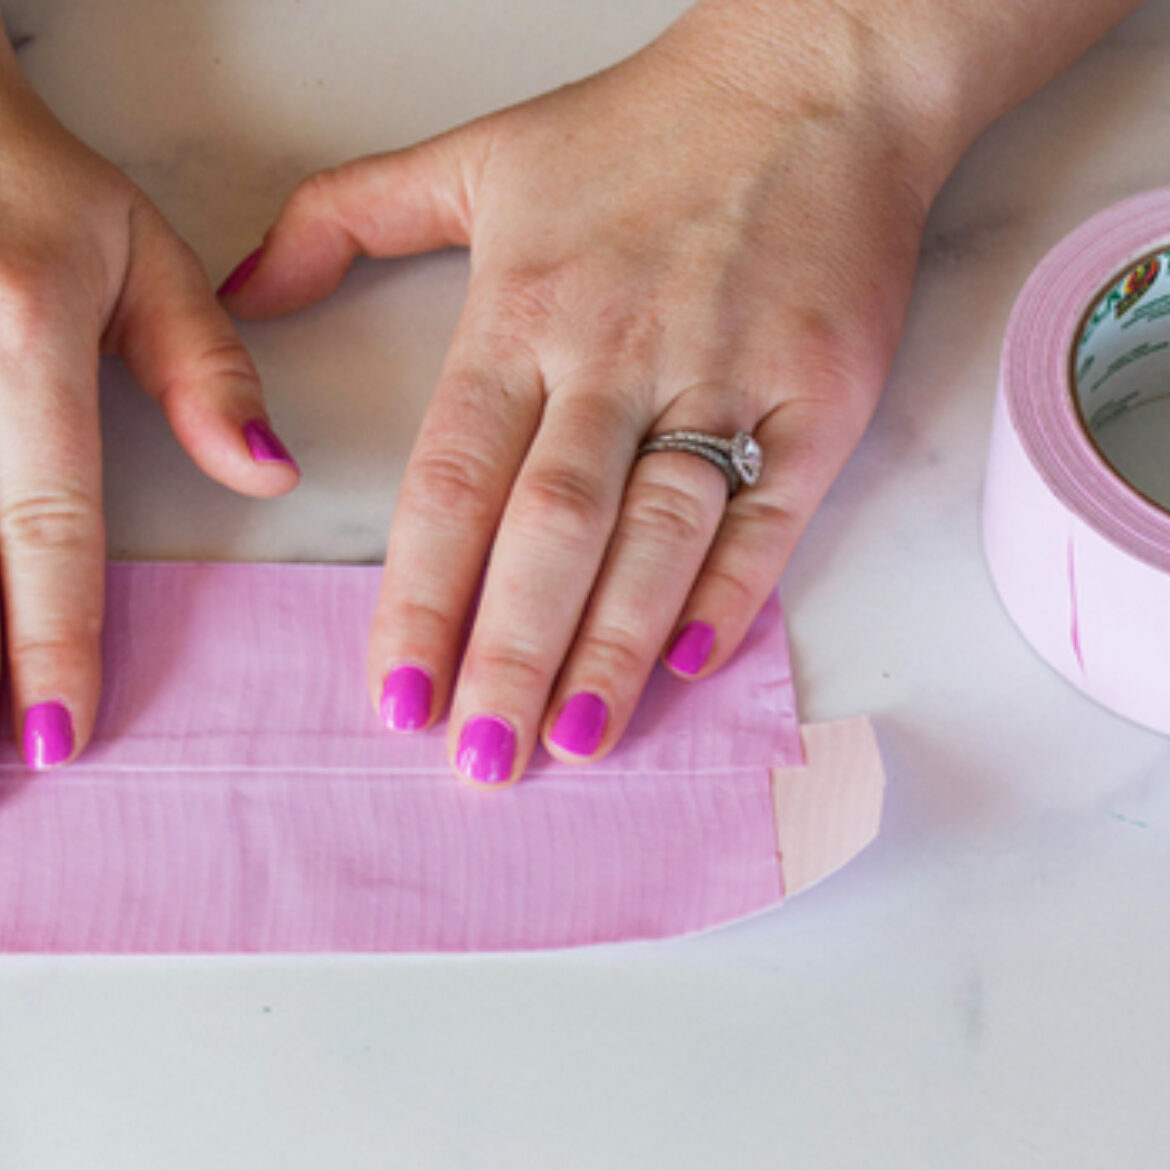
To get started, choose your favorite Duck Tape® colors and create a few sheets of Duck Tape® fabric. Check out this tutorial for the full list of instructions on how to create a sheet of Duck Tape® fabric.

Step 2
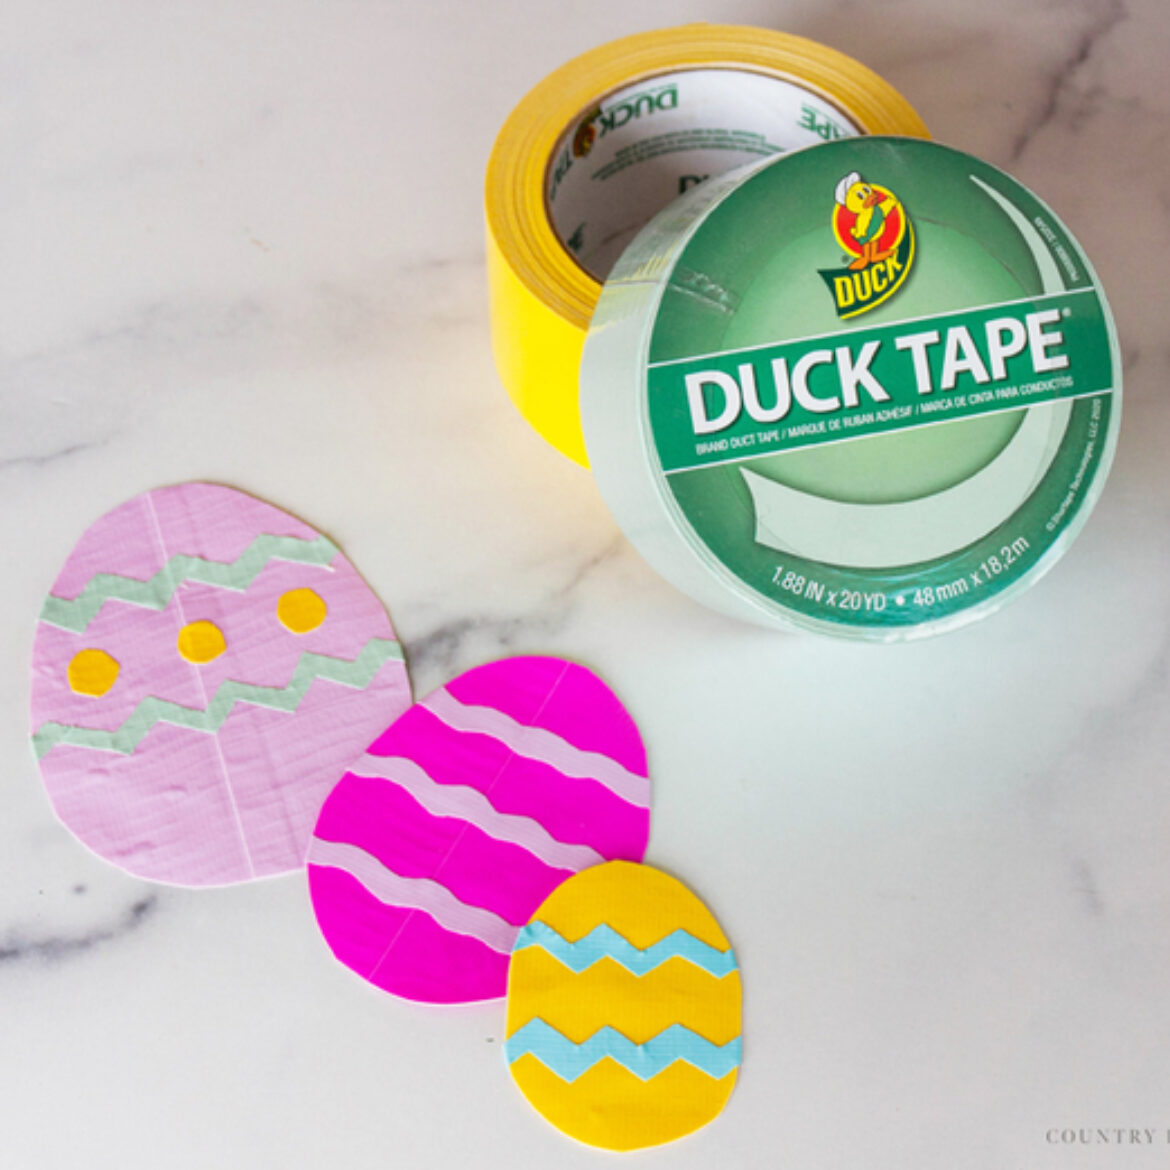
Now that you have a few sheets of Duck Tape® fabric, create an Easter egg stencil on cardstock. Then, trace the Easter egg onto the Duck Tape® fabric and cut it out. Repeat this step to make enough Easter eggs to cover the wreath.
Step 3
Now it's time to decorate! Use a craft knife and a cutting board to create different shapes and patterns with Duck Tape® to use to decorate the Easter eggs. For these eggs, Elizabeth created created a zig zag pattern, dots and waves.
Step 4
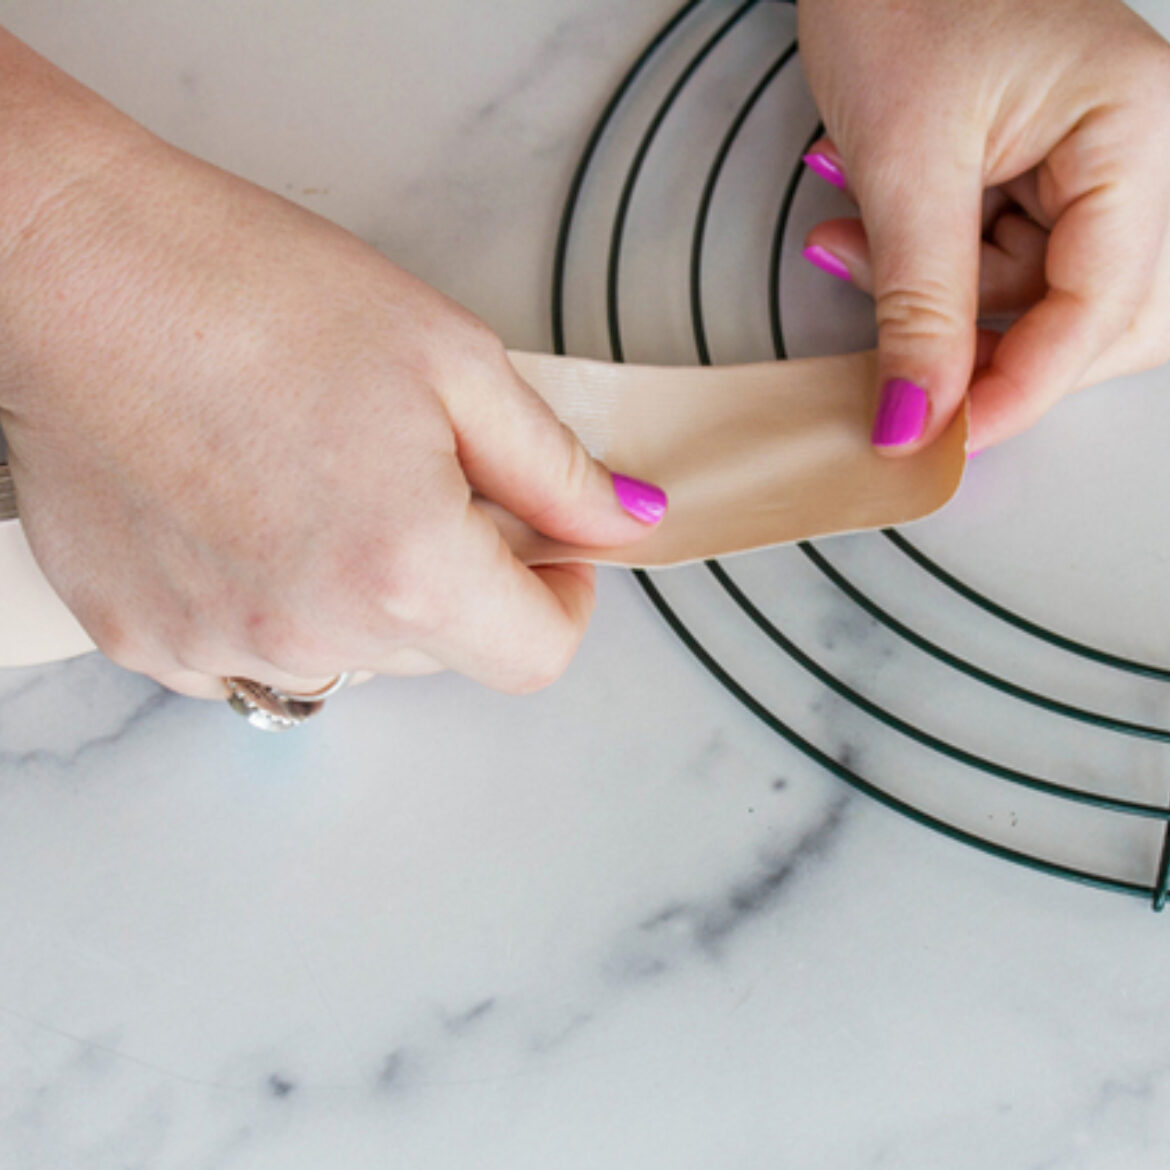
Next, wrap the wire wreath frame with some duct tape to attach the Easter eggs onto.
Step 5
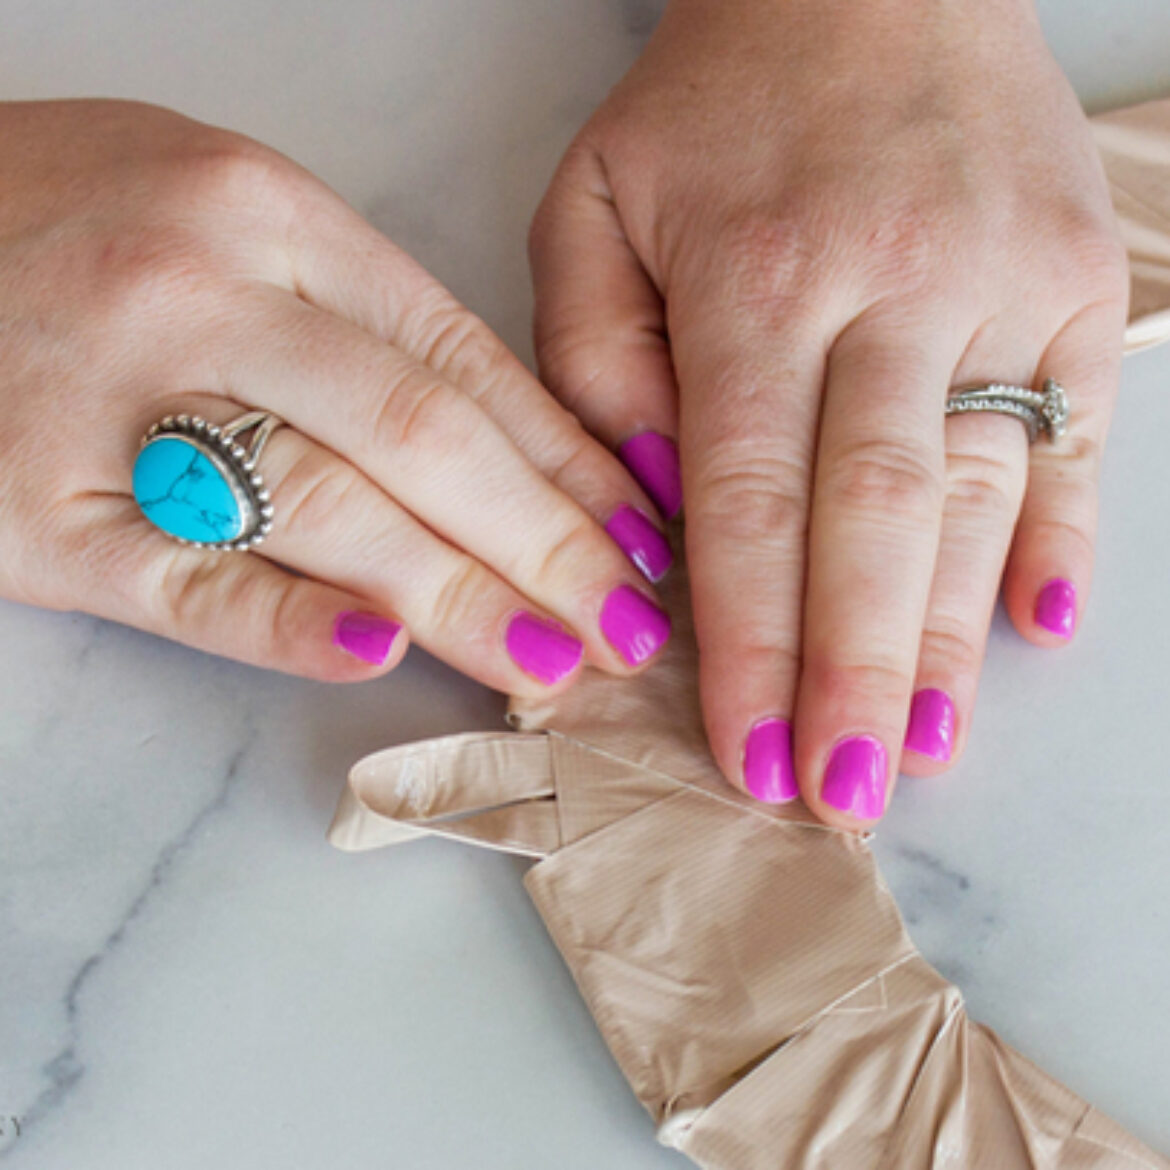
Then, create a wreath hanger with Duck Tape® by folding a piece of tape to create a strip, then tying a loop with the strip to attach it to the back, top of the wreath frame.
Step 6
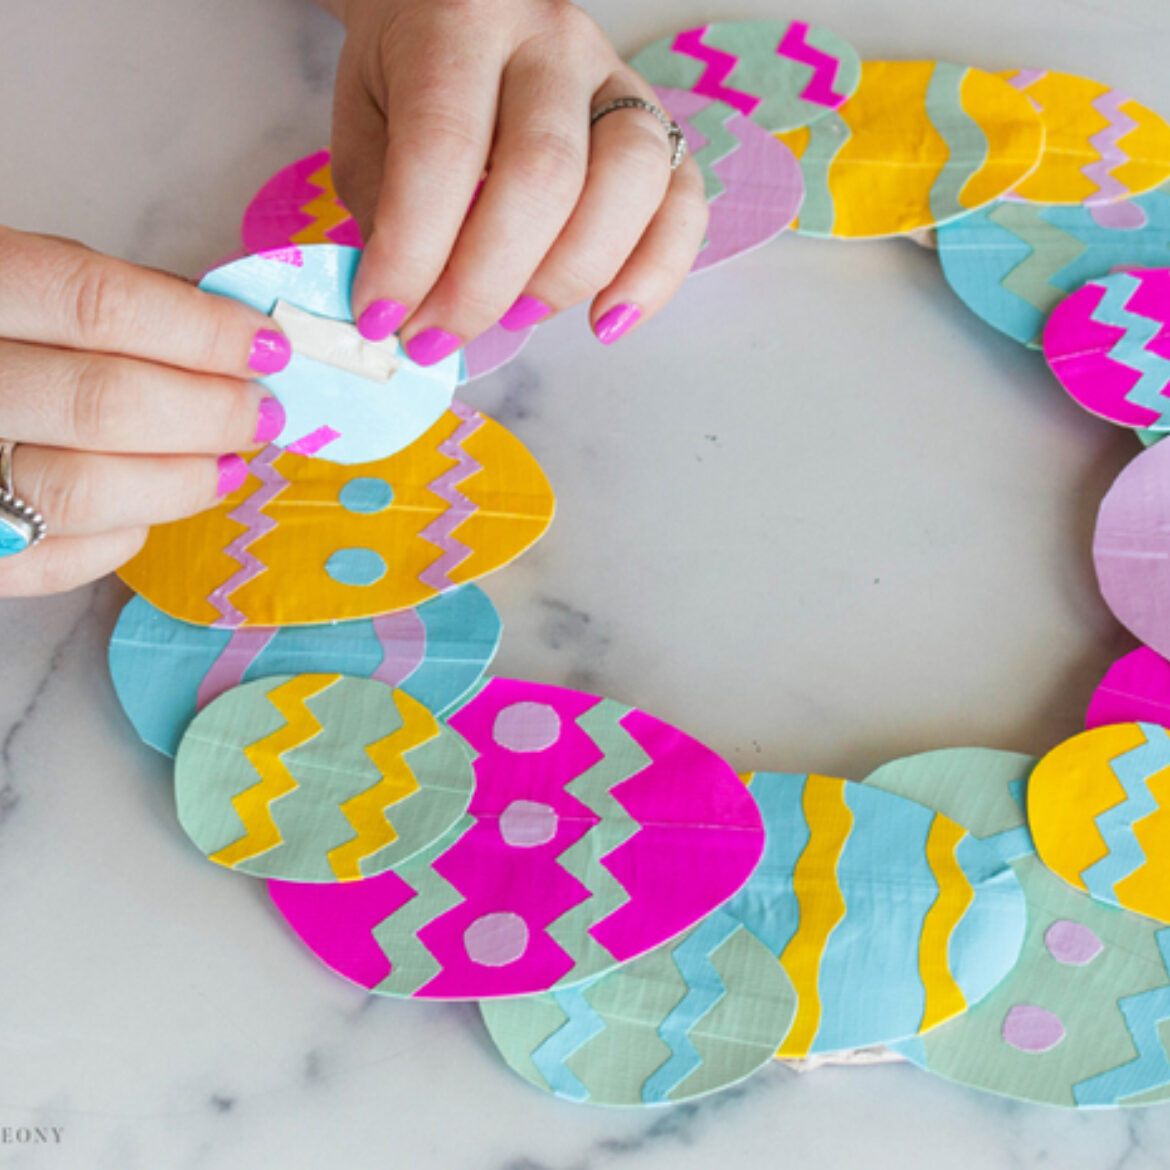
To attach the eggs on the wreath, fold a piece of duct tape to create a double-sided piece of tape and attach it to the back of the Easter eggs and onto the wreath.
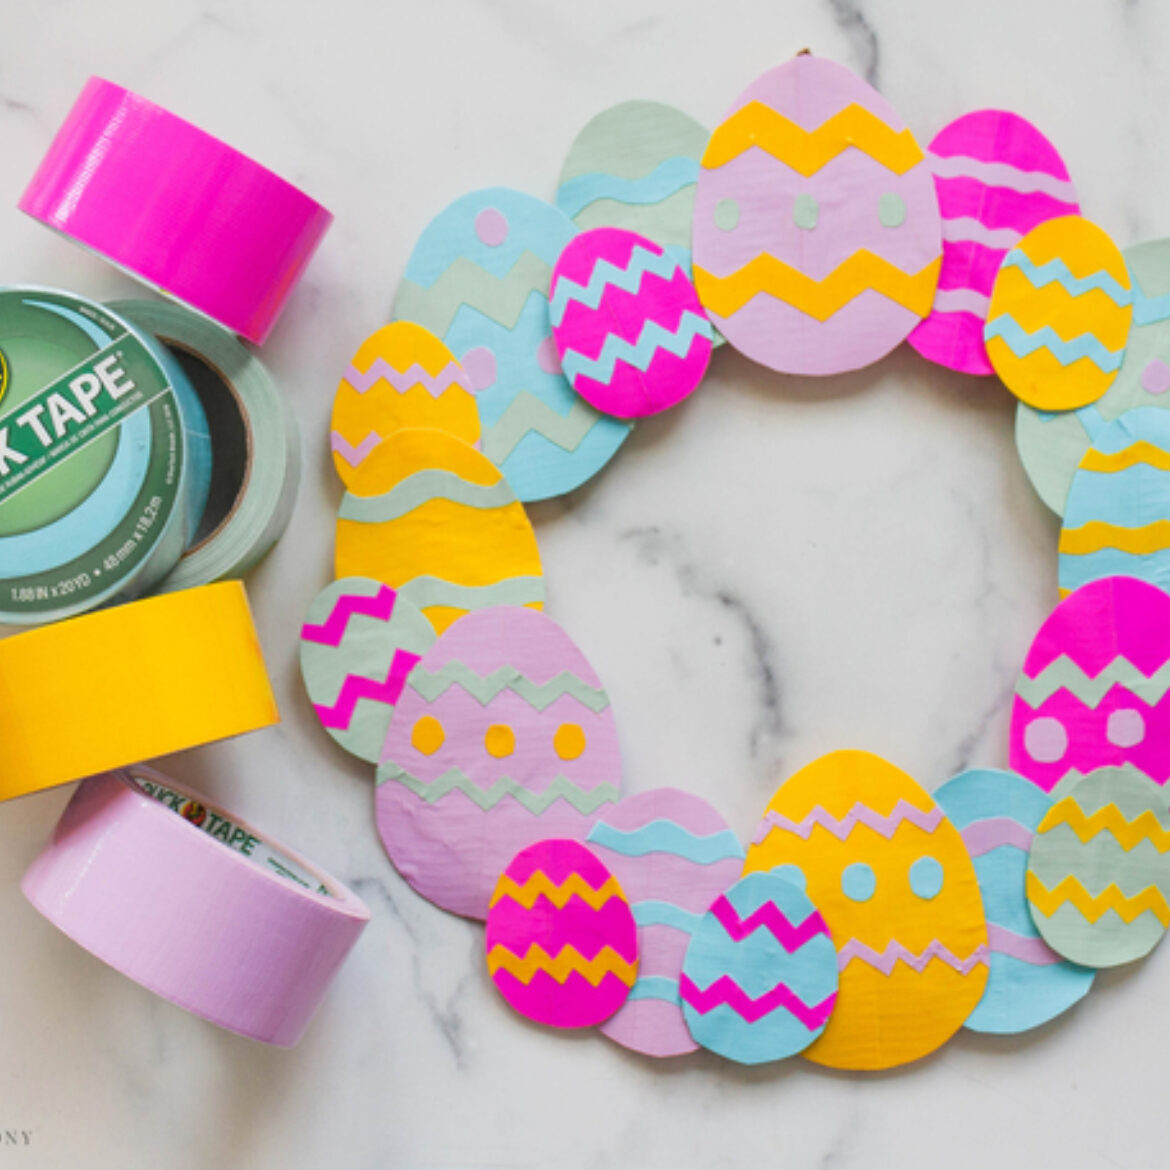
Step 7
Finally, once you place all of the Duck Tape® eggs onto the wreath, find a space to hang this colorful piece of Easter décor for all to enjoy.
Related Projects
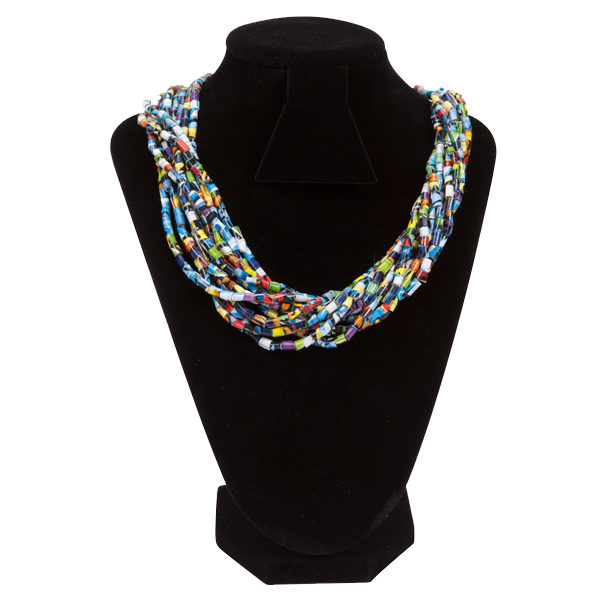
How-To: Duck Tape® Beaded Necklace
Give everyday items a makeover with this Duck Tape® beaded necklace.
How-To: Duck Tape® Pom Poms
Stand out from the crowd and cheer on your favorite sports team with these Duck Tape® pom poms.

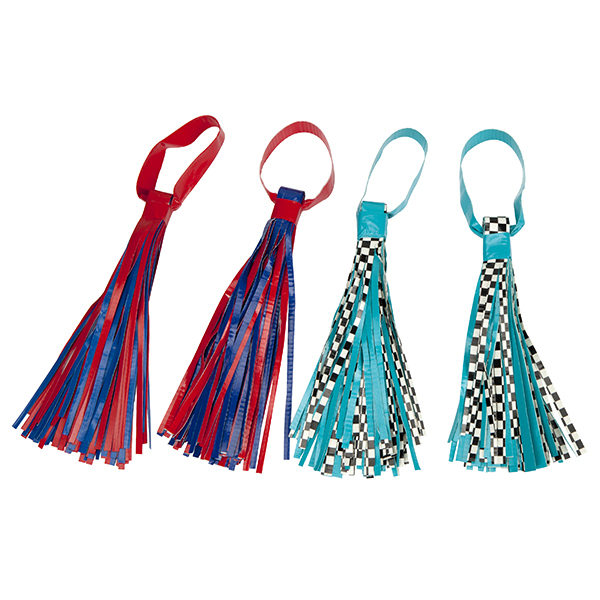
How-To: Duck Tape® Tassel Key Chain
Take the fun of Duck Tape® wherever you go!
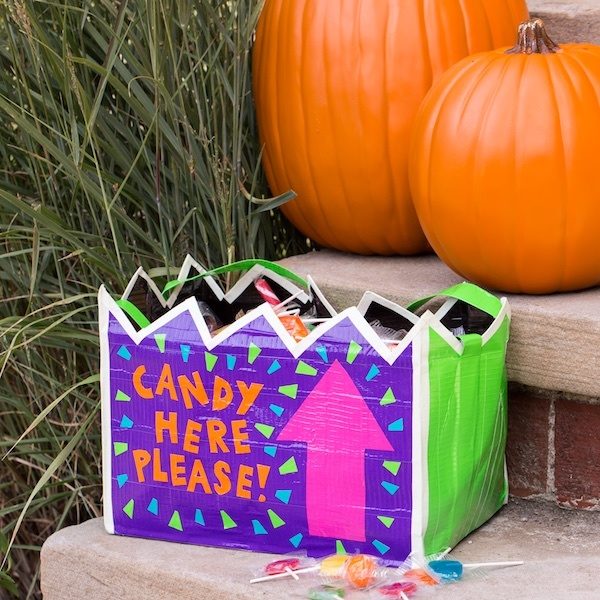
How-To: Duck Tape® Trick or Treat Container
Personalize your kid's Halloween trick or treat bags with their favorite tape.